


Hi there! Time for another GREAT color challenge at colourQ! I got a wee bit nervous when I saw these colors. I can pretty much make any colors work for a card, but since I scrapbook for CQC, I have to find photos that will work with the colors as well. Aaaaaaand, since I have 3 sons, pink is NOT a color I use often when scrapping! I really need to get some pics of my nieces for these pink opportunities! Anyway, I figured pink is a springy/Easter color and I did have these Easter egg dyeing pics from last year, so I decided to use those. I found some green gingham print paper in my stash which looked to be about the right shade of green and went with the fresh look I was going for. I cut out the word "eggs" on the Cricut in the Pink Pirouette and dry embossed it in the Cuttlebug. For the word "Easter" I stamped the letters down and punched them out with and oval punch. I also cut my eggs picture out in an oval and matted it in the pink as well. the oval reminded me of an egg, so that's why I focused on that shape. When I scrapbook, I usually figure that square or rectangular shaped photos are the norm, or that they're "neutral." One way to draw attention to a certain photo is by cutting it out in a different shape. So I will usually only try to draw the eye to one or 2 pics per layout.

I used a technique on this layout that can REALLY help you save paper if you like a layered page look like I do. See the Espresso brown cardstock, that are bordering the gingham pieces?? I actually cut the centers out of those Espresso pieces, thereby saving about a 10" square piece from each Espresso piece. One of them I was then able to use to mat my photos on the right hand page, see? It's SUCH a great technique, since I often like to mat my photos in cardstock.
 |
| Cut center out of 12" cardstock with 12" trimmer |
 |
| Set center piece aside for later use. |
 |
| adhere to back of 11 1/2" square paper for a (back of paper shown) layered look |

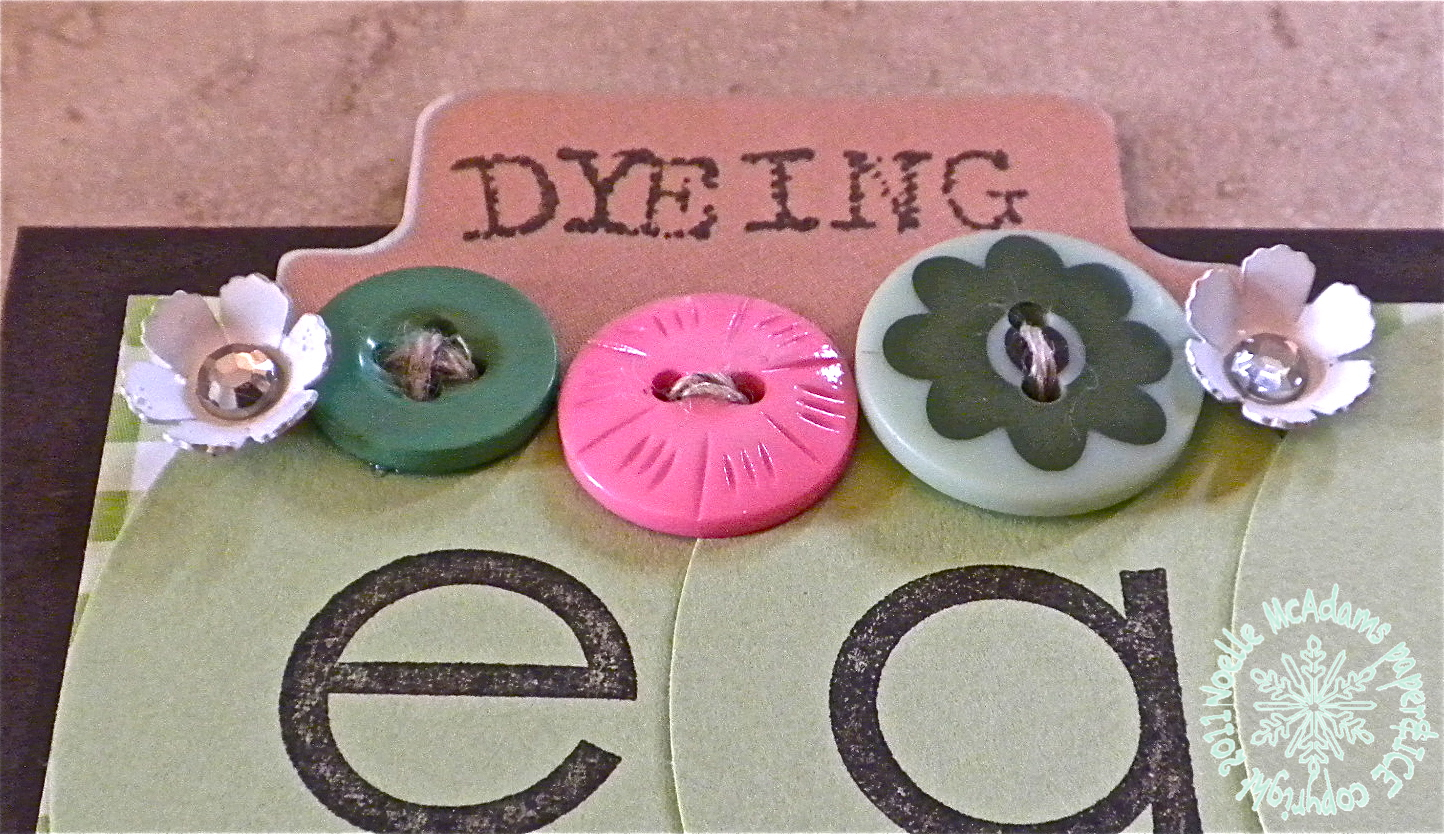
I found these SUPER old tab stickers in my stash, that's where I stamped the word "Dyeing." I accented with a variety of buttons, brads and little accents, most of which were pretty old. Check out my "dust it off" section at the bottom of the page for further details!

I hope you are having a great week! We are on our SECOND week of Spring Break and I'm trying to keep the boys busy! Thinking of trying Evan out at his first movie in a real live movie theater, wish me luck! Have a STELLAR day! -Noelle

Supply list: solid cardstock, letter stamps, Espresso brown ink and pink upholstered brad: SU!; chipboard eggs: Recollections; buttons: Dress It Up and The Paper Studio; metal lowers: Making Memories; oval punch: EK Success/SU!; flower & scallop border sticker: We R Memory Keepers; large Easter brads and gingham paper: The Paper Studio; tab sticker: K and Company; From My Kitchen Cricut cartridge; embossing folder: Cuttlebug
DUST IT OFF!: Where to begin? SO many old goodies on this page! The large Easter brads, the buttons, the tab sticker, and those flower and border stickers as well. I don't own much in the way of Easter products, so I had fun scrounging around nooks and crannies of my studio for all these goodies;) What's better is that I LOVE the way this page turned out!

PS, I found out only last night that THIS CARD was featured as the Pick of the Litter over at TCP on Friday, Woot, woot! I'm so excited, and also feeling a little dingy that it took me so many days to notice, things can get a little crazy with the boys home, lol. Thanks a MILLION, TCP! :)

1 comment:
Gorgeous layout, Noelle! Your details are just perfect, too! You have such an amazing style! So happy you're sharing your talent with us over at the colourQ!!! Thank you!
Post a Comment