Home Design Work Recognitions For Sale About Me

Wednesday, October 31, 2012

Happy Halloween 2012!


Hey all! Hope you are having a great day so far and that you'll have a fun and spooooooky Halloween tonight! :) Just wanted to show you a few Halloween goodies that I whipped up on Monday. This first one is "pumpkin poop" (cheez balls) for the boys. I thought this was funny (and I knew that they would think it was hilarious!) and I liked that it would be giving them a Halloween goodie without throwing even MORE candy into the mix (like I did last year!) I found this cute free printable tag here. I just used some Target Dollar section scrap paper that was in my stash from a few years ago and the tags + some ziploc bags. Easy and I think the boys will get a kick out of them :)


The other project I have to show you are the treat bags I made up for our good friends that pop by to trick or treat at our house. We always have at least 4-5 families with kids stop by and I like to have something special for the kids we know personally. :) Here is another example from last year, just like then I used the cheap scrapbook inserts to stamp on, since I figure they will likely get thrown away anyway. Just some simple stamping.
I filled these with bags of mini oreos and fruit snacks (good for kids with allergies!), a strip of Halloween stickers, a Halloween eraser, and a chinese yoyo. :)
And that is all for me today! Have a fun, spooky, and SAFE Halloween!

big hugs, Noelle


Tuesday, October 30, 2012

Candy Cornucopia (CQC161)


Hey there all! Happy Halloween Eve! Time for another awesome challenge at the ColourQ! Love this Halloween palette, note the two different yellows! Hope you all are doing well!


I will probably give this card to one of the boys or to my Mom, it was inspired by this card, that I had also seen on Pinterest, you can check out my Inspiration For Future Projects board if you like. I decided to go ahead and make the candy corn I made with my TCP Pennant CutUp, and make a one pennant banner so to speak. Went a little candy corn crazy and added candy corn ribbon and brads to the card as well. I love candy corn, it's such a happy candy and reminds me of my Gramma. When I was a little girl, she always had a bag in her purse, and was always sneaking me a piece (or 5!) its one of my earliest memories of her. I miss her so much!

I did a lot of dry embossing on this card, I used 3 different embossing folders.... I'm still not sure if that was the best call or if it would have been better to do all three layers the same texture. I do like the dry embossing though. And as it turns out a banner die (or punch!) makes a great candy corn! Would be fun to make a Halloween banner with a lot of these, dont'cha think?


Well that is all for me today! If I don't see you again, hope you have an AWESOME and fun Halloween!

Big hugs, Noelle

supply list: die and stamp: The Cat's Pajamas; brads: The Paper Company Studio; embossing folders: Cuttlebug and Sizzix for Stampin' Up!; banner die: Papertrey Ink; ribbon; card stock: SU!

DUST IT OFF!: These brads and ribbon are really old, not even sure who makes that ribbon, but it works well for this card! :)


Sunday, October 28, 2012

You're BRRRR-fect! (PS SPARKS)


Hi guys! I was super excited to see that I was named the winner of the last one, and now I'm playing at this Paper Smooches SPARKS Challenge! I won for this card. I already spent my 30$ in free stamps (plus a little bit more, haha!) and I can't wait to get my new stamps soon. :) I bought the following sets with my coupon + a little extra:) here's what I ordered:


Anyway, I really LOVED the inspiration photo they had going on over there this week. Take a look:

Isn't this awesome? LOVE the white line art on the gray background, and the pops of pale yellow give it both a sophisticated and sweet feel. :) Here's my card:

I decided to use a recently purchased set from there, Warm Hearts, as well as my favorite background stamp in my entire stamp collection Timber, and a sentiment from Chilly Chums. I LOVE this little snowman! He is what prompted my recent purchase of winter stamps from PS. I collect snowmen, and leave my whole collection out in my house from right after Thanksgiving to February. They are so cute and they really brighten up the dark winter months. :) 

So, for the card I made a layered panel for the center of the card, using some PTI dies, an EK Success snowflake punch, and paper pieced this cute guy after I colored him a bit and glittered him. I added the sentiment inked with markers on a banner that was already cut. I decided I really wanted the banner to hang off the edge of the card. A few gems and the card was good to go. The woodgrain background panel was heat embossed with white craft ink and white embossing powder. You might remember a very similar background on this card from May. 

I hope you like my card! Thanks for popping by, my house is still in a shambles after our recent home improvement project, but I am itching to create after all the cleaning, organizing, and touch-up painting that's been going on 'round here! So, I will see you SOON.

big hugs, Noelle

supply list: stamps: Paper Smooches; dies: Papertrey Ink; punch: EK Success; gems; white craft ink and white embossing powder; heat tool

Friday, October 26, 2012

Christmas/Winter Scrapbook Layouts


Hi all! I promised you something more and here you go:) My carpet goes in TODAY (yippeee!!!) and I'm hoping to be back to "normal crazy" by the end of the week. The layout above was my favorite of them all:) This is the second installment of pages from the crop I attended at the end of September. :) These are all Christmas/Winter layouts, from 2010 and 2011. Some are really simple (a lot of my favorite border pages!) and some are a bit too busy. ;) But hey, they are DONE, right? Hope you enjoy! 

xo, Noelle


This was a simple page that turned out cute, really love the pops of red.
 This was a fast page, some coordinating DPs, a border punch, a few Jolees stickers, and voila, done!
Another quick one! Used a printed acetate sheet over some DP on the title block, then topped that with letter stickers for the title.
 This is one of the "much too much" ones! You can't even read the "tree trimmers" title on the LH page, even the "santa" title on the RH page is hard to pick out :( I may have to do a little rearranging on this page, I;m really not very happy with it.
 This one actually surprised me how much I liked it! It was a pre printed paper, and sometimes I don't like using those, but the bright light stickers really shine with this,a nd it brightens up the nighttime photos.
 This was a simple page and I really really LOVE it. :) The birch print paper and the Jolees nativity stickers are the perfect "frame" for these pics.
 This one is cute, the banner is chipboard.
Collin's holiday party at school. I have a Christmas train sticker I might add to this one, since it was "Polar Express day." 

Wednesday, October 24, 2012

CSI: DIY tiered organizer

Hi all! I have a new post over at craftstorageideas.com today! A little tutorial on making your own tiered organizer, plus lots of other examples from around the web. Check it out if you can! :)

hugs, Noelle

Tuesday, October 23, 2012

Mr..... Peacock??? (CYDI?21)


Hi all! Time for another challenge over at Can You Digi It? The challenge this week is to "give thanks!" Here's an awesome inspiration collage for you....


I decided to do something a little untoward.... just hope it isn't *too* weird! LOL, I decided to turn this cutest little Peacock digi into a turkey! I just think this stamp is so stinkin' CUTE! And I've really been wanting to use him, so I figured today I will turn him into a turkey and soon I'll actually use him as a pretty peacock! :) Lelia said he was a "peakey" or "turcock," LOL! I used the Cloud Trio Die-namics for his tail feathers, and I added a heart brad for his waddle. I also made his beak a little bigger by covering it with a yellow triangle. And I think he's a pretty cute turkey, too :)


I had both the polka-dot panel that's matted in red and the "thankful" piece already stamped in my desktop organizer that hold all those things made but not used yet. Actually I have a lot of these "thankful" pieces stamped in there. I had made several planning to make several more of these cards from almost 2 years ago, but time got away from me and I never finished. So, I cut this one into a banner and added it to his fancy tail with a brad. I used several other papers from the Dilly Dally 6" paper pad, which is one of my favorite pads right now! :)

Well, I hope you like my card and that you can come play with us this week at Can You Digi It? I'd love to see what you'll come up with! :)

hugs, Noelle


For The Newlyweds (CQC160)

Hey blog friends, hope you are doing well! This is for a sweet couple that got married over the weekend, Michele and Devon. It's actually my stepsister-in-law's sister who got married. My family is blended in just about every which way, and I am very lucky to have such an awesome and FUN big family! :) I was really bummed that we could not make it to the wedding, but with carpet going in on Friday (and all the subsequent ripping out old carpet, cleaning, sorting, repainting trim, etc.), me beginning teaching this week, Collin's science fair project due, and Ian serving as acolyte in church on Sunday morning.... I sadly didn't have even a couple hours to spare. Which stinks because I really think a wedding is something you should MAKE time for! I just really don't even have time to make right now. But I am too blessed to be stressed! Onto the card!


Up top is the pretty palette for ColourQ this week, LOVE the purple/orange combo. :)

Anyway, I thought these were really pretty colors and didn't necessarily have to be a Halloween card. I thought they would make pretty wedding card colors, too! I hope the happy couple likes this :)


This was one of those projects that should have been far simpler than it actually was! Man, I was tired when I sat down, and my desk was a mess. Both these things led to rookie mistake after rookie mistake from this experienced crafter! I think it turned out ok, I was just bummed that what should have been a ten minute card took over an hour, since my desk was such a pit, I kept losing everything! I even spent 5 minutes searching for my paper trimmer. Yes, it's over a foot long, LOL! ;)


I also had to redo everything multiple times....The main panel was die cut and stamped 3x before I got it right. The ribbon was supposed to be a pretty bow, and I just couldn't get it tied prettily enough. The hole for the ribbon to go through tore a bit. In the end, I decided to do a french bow, they always look nice and lay flat. I hand cut the vellum banner, which started out as  a fishtail banner, but then that was too wide, and I did want the card to fit in a regular A2 sized envelope, so I made a pointy-end banner instead. All in all I think it turned out pretty, in SPITE of all my mistakes!  I ended up smudging the card in a couple places with inky fingers, fortunately nowhere that couldn't be covered up! Anyway, I hope they like it, that's all that really matters. :)

Hope you all are doing well, too! Biggest hugs, INSANE week ahead, but I do have a VERY cool post for  craftstorageideas.com going up tomorrow, I will link you up here, chickadees, just in case you aren't subscribed over there yet! Also, a cute (and pretty creative, if I do say so myself) card is going up for the challenge that will go live at Can You Digi It? in just a little bit after this one, so if you came here from ColourQ, refresh and scroll up to see that one too!

xo, Noelle


supply list: stamps and dies: Papertrey Ink; cardstock and ink: Stampin' Up!; ribbon: American crafts; brads: Recollections; vellum; heat tool; black embossing powder; corner rounder: EK Success

Thursday, October 18, 2012

Craft Therapy/I think You Are So Cool (SPARKS challenge)


Hi all! This week has been truly crazy... I know, it seems like I say that every week, but it really has-even MORE than normal "crazy!" Ian had his birthday yesterday, and (in a moment of pure insanity) last week I said "Sure we can have a sleepover and a birthday party!" Truly brilliant, Noelle! LOL, the boys are on Fall Break right now (except the little one) and it has been such a busy time with them home anyway, but then throw in:
*a Monday Night Football birthday party (Go Broncos!) with a slew of 12 year old boys, game went late, and so did the party...
*a sleepover on a different night with some more boys
*lunch with my Mom for the birthday
*2 dentist appointments, one clear across town
*watching a friend's son for two days
*getting the little man back and forth to his pre-k (a 30 minute drive, the boys are in 3 different schools this year, so on an average school day, I spend around 3+ hours in my car, I keep telling myself, it's just for one year!)
*I start teaching theater again on Monday, and I'm writing a whole new curriculum for the new workshop-style class I'm teaching.
*and recently started working for two additional blogs in addition to ColourQ,
*we are having new carpet put in next week (yea!) but to save some coin we decided to rip out the old ourselves.
*since we are ripping out the old it seemed a good time to repaint all the baseboards, bannisters, and trim.

Being a Mom to three active boys, I am used to a certain amount of chaos, it's "normal" to me. But I am beginning to feel that I might just drop one of these balls I'm juggling! Anyhoo.... thank you for your sweet comments, you are all so awesome. I am planning to return all paper & ICE comments/make DT comments this weekend, and hang out in blogland a little... I can't wait to see what you are all up to, also! :)

I will also have football party thank you notes and football party pics for you soon! I also will get the pics of Ian's new "tween" room up for you after the carpet goes in. Gosh, it will be SO nice to have that done! This house was a rental before we bought it, and it desperately needs new carpet.


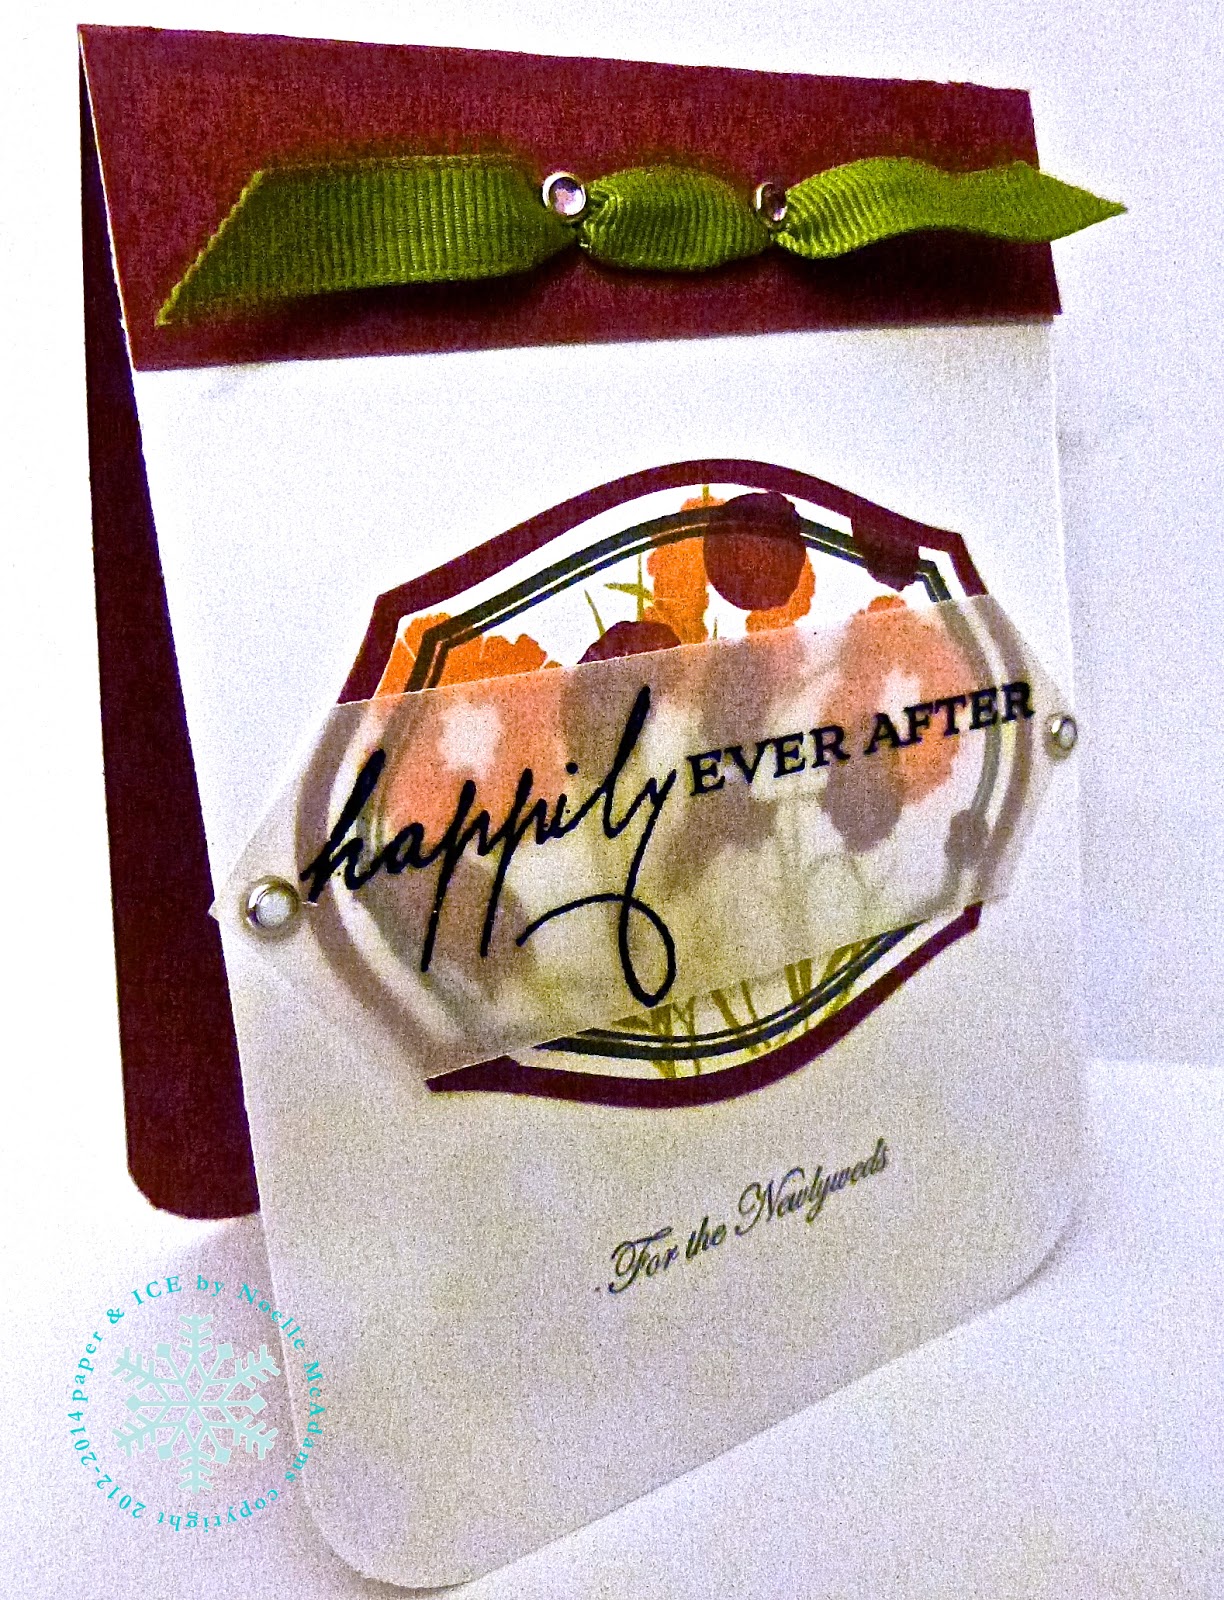
Anyway, on to the card! I just decided to drop everything else and give myself a wee bit of "craft therapy" time today! had some adorable new Paper Smooches stamps that I couldn't wait to ink up! They are having a great color challenge at Paper Smooches SPARKS. This is my first time playing a SPARKS challenge, but I'm sure I'll be back again! :) I just had to use one of my new sets Chilly Chums. Simple card, really, some punched pieces, some dry embossing, a few gems, a hand-cut banner, and the cute animals are colored with Copics. I did add a little Frosted Lace Stickles to the tops of their heads to look like snow, but it's really hard to see here. GREAT colors together, they really felt "icy" to me, so I figured it would make a cute winter card. :)


Hope you all are doing well. More from me, SOON, and I can't wait to get around and see what you have been up to!

hugs, Noelle

Tuesday, October 16, 2012

Love You-whooo! (CQC159)


Hi all! Here today with another great autumnal palette from the ColourQ! Gotta love these colors! My kids actually have these PBK chair pocket thingys... They don't have the owl ones, but they have the skull ones from a few years ago. The "Great Pumpkin" comes and leaves treats and toys on some of the nights in October. Ian and Collin are getting too old to believe in the "Great Pumpkin" or Santa, the tooth fairy, or the Easter Bunny... but Ev still does and it is cute the way his big bros encourage him to believe in magic. :)


So, I decided I wanted to do something "owlish" based on the photo. I found this awesome tutorial on the BasicGrey blog about making an owl box from an oatmeal container. My oatmeal container was almost empty anyway, so I just put the last bit in a ziploc. I am dying to try this recipe, so I am guessing that last cup will get used up soon. I have a regular steel-cut crockpot oatmeal recipe that the boys just love. Oatmeal is so good for you, I'm glad to encourage them eating it! This apple cinnamon one looks super yummy.

So, anyway, used a variety of Stampin' Up! papers, some washi tape, and instead of silk flowers for the eyes, I used some craft felt cut with a nestabilities die and punched circles. The pennant punch made a great beak. I used Aleene's Paper Glaze for the glue... I do love that glue and know that it will not come apart, but it did drip a little and left a few shiny spots, in retrospect I think I should have used hot glue.


The sentiment was added with my old-school Dymo label maker and an old flower from one of my boxes of things that were made but never used. Easy peasy. I think this box quite possibly took less time than a card! I think it would also make a cute decor item, and that's probably what I will use it for. :)

Well that's it for me today! What will you-whoooo do with these colors? Love to see what you will come up with. :)

big hugs! Noelle


supply list: papers: Stampin' Up!; circle ounces: EK Success; label maker: Dymo; die: Spellbinders; washi tape: SMASH


Monday, October 15, 2012

Studio Tour at CSI

Hi all! I have a new post up at craftstorageideas.com today! I did a feature on this awesome craft space that I only wish was mine! Check it out if you can! :)

hugs, Noelle

Saturday, October 13, 2012

Fallish Bingo Card (TCPTUES230and231)


Hey all! Here's an autumn card for you, using the last two TCP TUESDAY challenges. A sketch and an inspiration challenge that work really well together, I think! :)


I used the autumn inspiration to pick my papers. I used some really old autumn papers that I bought several years ago in the Target Dollar Spot. Except the polka dot one which is Imaginisce brand.


LOVE the way this card turned out, it's my favorite style, sorta "layered-y" and with a combination of patterns and colors.


For the two little banners sticking out of the side, I used an old (pre-cut) orange banner in my stash. I also pulled out some really old epoxy buttons which are so cute, I don't know why they've been gathering dust so long! I also cut the little leaves from the Rolled Nest CutUp as accents. I also used the Heart Border CutUp as a border on the smaller panel, but it ended up being mostly covered by the Bingo card.


I used one of my  very favorite TCP sets Build A Bingo, for the main image, using the little pumpkin and the pinking circle as the accent stamps. The zig zag stitching at the top of the card is done by hand.... not sure why I have such an aversion to pulling out my darn sewing machine! ;)


And that is all for me today! Hope you all have an awesome weekend, we are in full birthday party season here and gearing up for yet another party while the boys are on Fall Break. Take care!

xoxox, Noelle

supply list: stamps & dies: The Cat's Pajamas; decorative papers: Target Dollar Spot and Imaginisce; banner die: Papertrey Ink; epoxy buttons: ?; baker's twine: Jillibean Soup; paper clip: Tim Holtz

DUST IT OFF!: All the papers and the epoxy buttons on this card are years old. This paper is thin and not so great for scrapbooking, but backed with some heavy card stock, it makes for great card layering:)