


When it comes to the style in my house, I feel like the below photo hits the nail on the head, this is not my house, but I have similar tile in my kitchen, similar wall color, and similar color and style of furniture and cabinetry in there as well (but no pretty granite counters, boo!) I have a pretty modern home, but those touches of rustic and vintage are just my thing, love that!


I didn't want to repaint the whole thing, and I did want the original paint to show through. I found a craft paint in my stash that was really close, I knew I could work it out since I'd be doing multiple layers, etc. So here's the finishes I used, plus also some white paint and some of my wall color paint.

Nice that I did NOT have to buy a quart (or gallon) of "regular" paint, since it would have cost a lot more than 3 little bottles of craft paint! Love how the sanding began to expose the wood and the paint underneath. I wore a mask, and you should too, if you're sanding something older, you never know if it's lead paint you might be sanding off!

You can see here, how I sanded where the handle had been into more of an "organic" shape. It was originally a perfect little rectangle with no paint, I knew I'd be able to blend this better. I filled the original hole with 3 small pieces of dowel and some caulk.

Then the first coat of white, dry brushed on, and blended well with the dry brush.


Then blending in some blue craft paint...


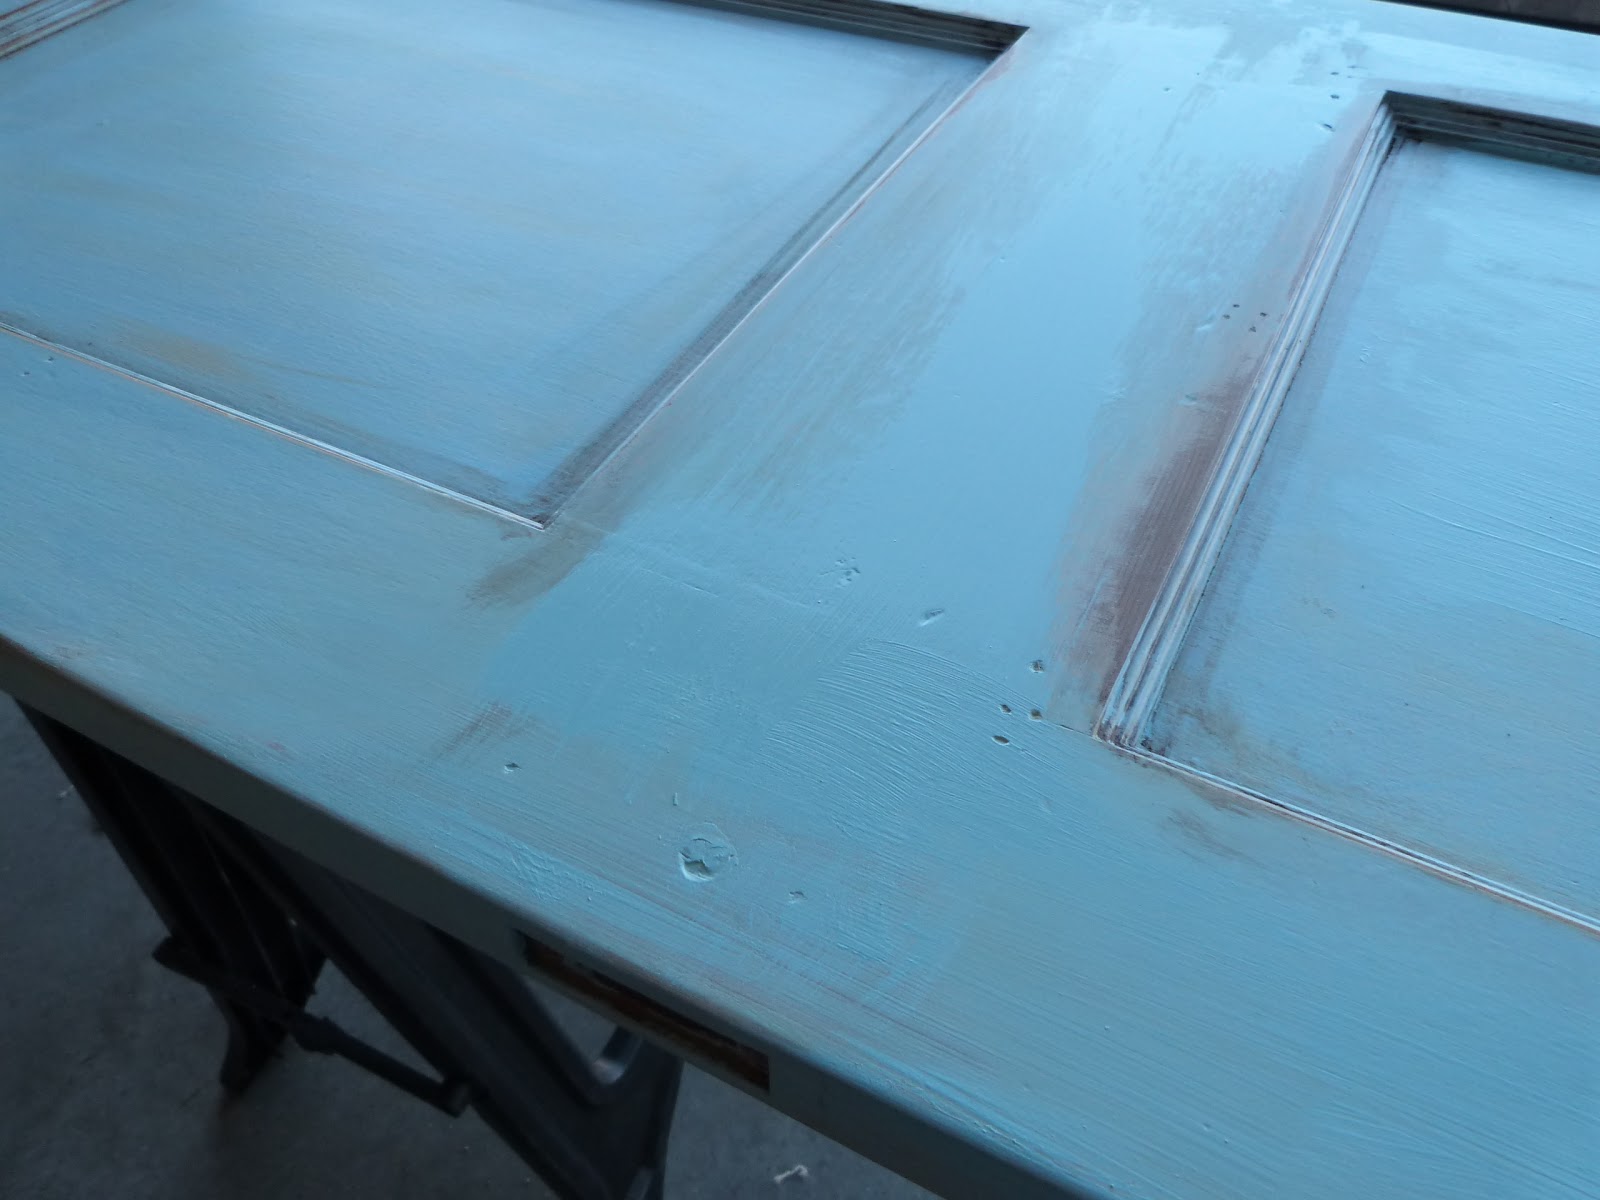
See how that bare spot is getting camouflaged? :) A few more layers like this, some blue, one white, and one tan, and I did this all over the door in different places. I either used a really dry brush and blended really good or I put on more paint and then wiped with a wet paper towel, to keep the layers really fine and soft. Then we have this:


This next pic really shows the two blues, the tan, and the exposed wood well.

Finally I added antiquing glaze to all the edges and wiped off. Touched up with a bit more blue and:


:) happy face :)
The backside of the door was actually tan, very very close to my wall color, so on that side, I mostly used tan, and just a little bit of the blue and antiquing medium. This is the inside of the door.


I spray painted all the hardware I was reusing from brass to antique bronze:

I have a lot of denim, cobalt and navy in my kitchen, but not much of this lighter blue, so I changed up the wall decor just a bit by switching one cross out with a little canvas from my living room, and I took down one plaque and added this cute hook from Hobby Lobby. I'll be adding touches of this lighter blue here and there around the room. When I was there a new clock just jumped right into my cart, too! heehee ;)


and here's some shots of the antique knob.
 |
| Add caption |

Don't know if you are into vintage or not, but I'm really happy with this! Really makes my kitchen sing :) Hope you are having a great week!
xo, Noelle
4 comments:
aww I want one..this is amazing.. I LOVE IT
Wow how clever! Love the colours!!
Wonderful project. I love the look of vintage items, and your door looks great. I really love the clock too!
Wow! this is absolutely incredible...I loved that you walked us through the steps. Looks perfect!
Post a Comment