
Home Design Work Recognitions For Sale About Me

Thursday, November 15, 2012

Vintage Pantry Door project

Hi all! Gosh, this week has just been another busy one! I haven't had time to make anything this week. At least anything out of paper and ink. ;) However, I have been really enjoying painting and antiquing this vintage door that I picked up last week. My dear friend Wendy and I had a fun day scouring a couple salvage places. First, we checked out the downtown Habitat for Humanity ReStore. I actually really love that place, I have gotten a lot of cool things there throughout the years, including the salvage door that I turned into a headboard for our bed. We also hit another cool place that neither of us had been to before Architectural Salvage, which was SO awesome! I picked out a vintage window there and some hardware to put on my door.

When it comes to the style in my house, I feel like the below photo hits the nail on the head, this is not my house, but I have similar tile in my kitchen, similar wall color, and similar color and style of furniture and cabinetry in there as well (but no pretty granite counters, boo!) I have a pretty modern home, but those touches of rustic and vintage are just my thing, love that!
I have always loved vintage things. I'm giving a tour of my studio in a few weeks over at Craft Storage Ideas, and you will see ALL kinds of vintage goodness in there! I have always wanted another vintage door, and since I love them so much, I picked up this one when Wendy and I were at the ReStore that day. 20$ and it was already my favorite color. I had no clue what I'd use it for, but I just liked it, and figured I'd come up with something creative, like maybe using it to hang photos on, or the boys artwork. When I got home, I brought it inside (sure is heavy, since it's solid wood, I LOVE that!) It wasn't the right size to go either of the places where I'd though I could rest it in a corner. I carried into the kitchen, leaned it up against the pantry, and..... IT WAS JUST THE RIGHT SIZE! Ok, my husband would tell you, it wasn't *exactly* the right size.... he had to shave off a little off one side and off the top to make it fit just right. He also had to re-drill the doorknob holes, and the hole where the latchy part goes. And he did all that without complaining, even though I can *guarantee* you, he would have much preferred to leave up the original pantry door. ;) He's a good man, he is! I didn't get a photo of the original door before we took it down, but it looks just like this. And here's the decor around it before also... (and my messy pantry sans door!)
Ok onto painting and fixing up this door. I loved the original color and wanted to keep it, but I also had to sand down a bare spot where there was no paint since my husband had to install the new hardware, which was a different size. Here's a pic after one sanding.
I didn't want to repaint the whole thing, and I did want the original paint to show through. I found a craft paint in my stash that was really close, I knew I could work it out since I'd be doing multiple layers, etc. So here's the finishes I used, plus also some white paint and some of my wall color paint.
Nice that I did NOT have to buy a quart (or gallon) of "regular" paint, since it would have cost a lot more than 3 little bottles of craft paint! Love how the sanding began to expose the wood and the paint underneath. I wore a mask, and you should too, if you're sanding something older, you never know if it's lead paint you might be sanding off! 
You can see here, how I sanded where the handle had been into more of an "organic" shape. It was originally a perfect little rectangle with no paint, I knew I'd be able to blend this better. I filled the original hole with 3 small pieces of dowel and some caulk.
Then the first coat of white, dry brushed on, and blended well with the dry brush.

Then blending in some blue craft paint...

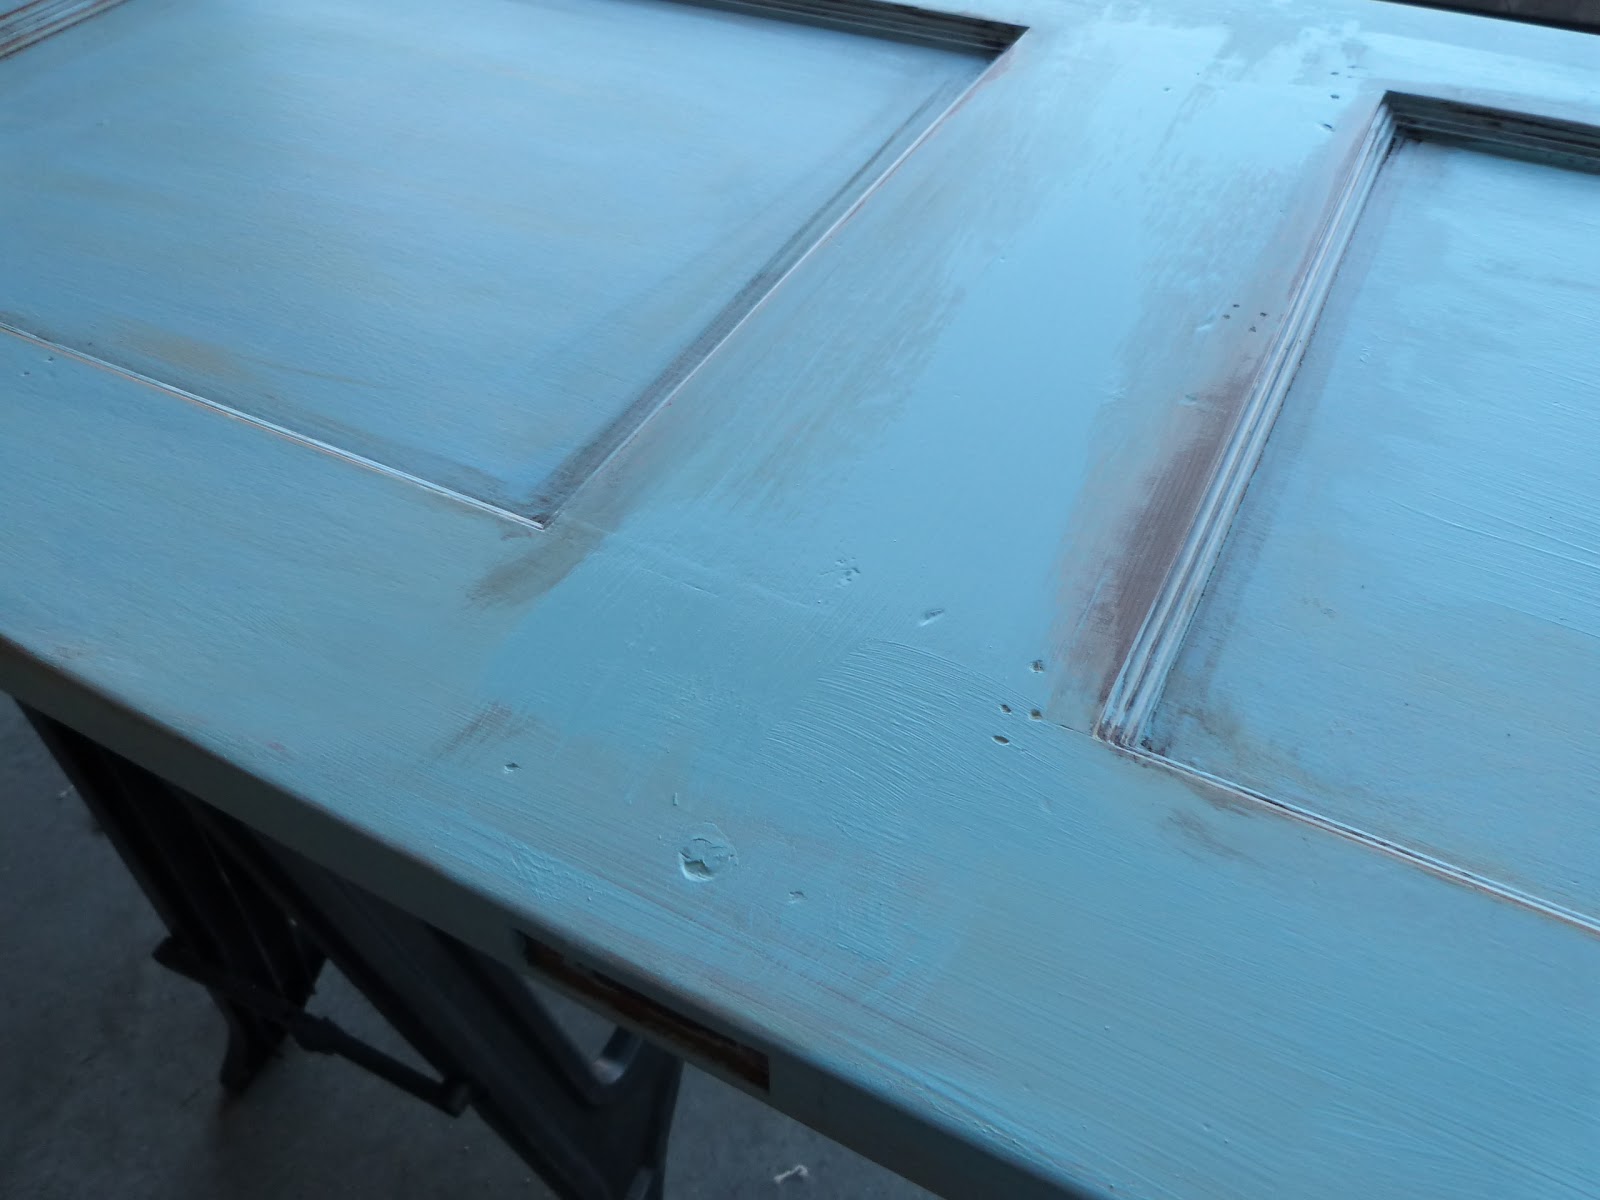
See how that bare spot is getting camouflaged? :) A few more layers like this, some blue, one white, and one tan, and I did this all over the door in different places. I either used a really dry brush and blended really good or I put on more paint and then wiped with a wet paper towel, to keep the layers really fine and soft. Then we have this:

This next pic really shows the two blues, the tan, and the exposed wood well.
Finally I added antiquing glaze to all the edges and wiped off. Touched up with a bit more blue and:


:) happy face :)

The backside of the door was actually tan, very very close to my wall color, so on that side, I mostly used tan, and just a little bit of the blue and antiquing medium. This is the inside of the door.

I spray painted all the hardware I was reusing from brass to antique bronze:
I have a lot of denim, cobalt and navy in my kitchen, but not much of this lighter blue, so I changed up the wall decor just a bit by switching one cross out with a little canvas from my living room, and I took down one plaque and added this cute hook from Hobby Lobby. I'll be adding touches of this lighter blue here and there around the room. When I was there a new clock just jumped right into my cart, too! heehee ;)


and here's some shots of the antique knob.

Add caption


Don't know if you are into vintage or not, but I'm really happy with this! Really makes my kitchen sing :) Hope you are having a great week! 

xo, Noelle

Tuesday, November 13, 2012

HB2U (CQC163)


Hey all! Time for another awesome color palette at the ColourQ!!! I love these earthy tones, with that pop of bright blue, don't you? Actually very similar colors to a skirt I bought recently. :) Here's my card:

I decided to use a Stampin' Up! set that's really versatile, "Circle Circus." I also used a Papertrey Ink set, I forget what it's called, but it's the one that has the Wii remote on it. I found the little silver frame worked well to accent that. 

A painted bottle cap, an old brad with a shark, and an upholstered brad in the challenge colors make a great "landing spot" for your eye in the upper LH corner of the page. Initially, I attached the three hardware pieces to the stamped panel, but it was too busy, so I punched a circle from the Cajun Craze color, and attached to the stamped panel before adding the hardware.


I like that this card could be used for just about anyone. The bright colors make it "kid-friendly," but you could also use it for an adult, even would work for a man, and we all know how tough those man cards can be to find! 

Well, I hope you will come play with us at ColourQ this week! I'd love to see what you'll create with these colors :)

xoxox, Noelle

supply list: stamps: SU! and PTI; frame: SU!; upholstered brad: American Crafts; bottle cap: The Paper Studio; shark brad: unknown; ink and card stock: Stampin' Up!; punch: EK Success

dust it off!: Both that little frame and the shark brad are really really old! :)


Friday, November 9, 2012

Are you ready for some FOOTBALL?? (tween boy room deco & birthday party)


Hey all! Sorry I have been so absent lately. We have had quite the week 'round these parts, and are gearing up for the 3rd (and final!) kids birthday party this weekend. Of course, then the holidays kick in, so no rest for the weary! ;) I've been collecting pics for awhile for the MONSTER post you are about to see. Ian has been on a major football kick lately. We redid his room to more of a mature style, his pick! I really had to let him choose most everything, but I did have veto power. ;) Then we had his football themed birthday party 3 weeks ago, and I thought you'd like to see:) The card above is one of the thank you notes that I (just yesterday!) finally got done to give out, I used the "Wrap It Up" Cricut cartridge and a Paper Smooches sentiment stamp. Easy peasy. 

I'm going to start with his room, he didn't want a "theme" room, though there's a lot of football, there's also plenty of skateboards and other things... You can also sneak a peek at my new carpet, which has truly made my house look brand new again. Check it:

The football wall was a mutual choice, painted this one wall bright green. My original intent was to paint the stripes and numbers, but the more I thought about it, I knew that would not be a good idea. A friend suggested white duct tape, and she just happened to have a huge roll, too! Cost for stripes: free. The numbers were cut from white vinyl using the "Varsity Letter" Cricut cartridge. The football helmet vinyl was ordered from eBay, and I know, it's WAY too small! I will order a bigger one sometime soon. :) The rest of the walls are a pale blue which I love and it turned out to brighten the room from the mostly yellow walls he had before. Awesomeness.

I made new curtains to cover the french doors from the view of the street outside. Ian picked the fabric himself, and he did a GREAT job, it is really perfect! And the stripes look nice with the football field stripes on the adjacent wall. 

I made my "normal" cheap homemade curtains, by using cheap white liner fabric, and sewing it right sides together with the stripe (which is a quilting fabric, not very substantial, thats why it needed to be lined). I left the bottom "open" flipped the curtain right side out, almost like a giant pillowcase. I pressed it, added the clips, hung it from the rod, and then pinned it before removing & hemming on my machine with a zigzag stitch. I know that's not the "right" way to make curtains, but they always look nice, and they are easy for the inexperienced seamstress, like yours truly! ;)

Here's the other side of the room. One challenge was that his furniture is navy blue, and we can't really afford to replace it right now. Also, he isn't a big fan of navy, so you can see he chose a slighly more cobalt color for the bedding (duvet set from IKEA) We added an old body pillow that I used to use when I was pregnant, but no longer have a use for. The jersey cover we found for it at Target was the perfect shade of green, to pull in the football wall color on this side of the room. Also, the little green lamp (also IKEA) worked well for that. We already had the blue shelves on the wall above his bed. 

He is getting to the age where he likes to have friends over more, so we made a little hangout spot with a beanbag, and this blue and green rug, also from IKEA.

The skateboard shelf was a fun little project. Ian and I both loved this skateboard shelf from Pottery Barn Teen, but I couldn't see spending 39$ on one shelf when we'd only spent less than 100$ on the entire room redo! We went to Target, and Ian picked a 10$ skateboard. Some 50 cent plastic brackets and we were good to go. I love that it has wheels on it, too! The PB Teen one doesn't. :) Hubby put the whole thing together in a matter of minutes.


We also turned this little wall behind the door into a spot for a hook rail (more IKEA goodness, gosh I love that place!) The Broncos canvas was one of his birthday presents. He added the pennant afterwards, I think I'll move it a few inches higher when he's not looking! ;) LOL

a couple more room shots:


Ok, now onto the birthday party! His birthday fell over a fall break when the kids were off school. It seemed Monday Night Football would be a great way to keep the kids occupied:) I got some cute paper serving trays at Michaels, only 1.39 each! Love that! 

added some little pennant flags, and some "party tape" (aka plastic streamer!) from Dollar Tree around the edges of the island.


Splurged a bit on the Broncos napkins and tablecloth, but it was a Broncos party after all! :) Centerpiece also from Dollar Tree.


Strung some teeny "footballs" with fishing line from my kitchen light fixture:


Got these long hanging decorations at Dollar Tree, too. A pack of 6 for a buck, can't beat that! One in this spot, and the other 5 in front of our sliding glass door.


He wanted an ice cream cake, and Dairy Queen turned out this cool cake. Good thing, too, because cakes are NOT my thing! 


Birthday boy showing off his new Manning jersey and real football, his other birthday gifts from us. :)


Look who's tired! We still are, too, no matter if we have to do another one of these this weekend! LOL

I hope you all are doing well, I'll be back to blogland soon, take care!

Noelle

Tuesday, November 6, 2012

We wish you a mewy Christmas.... (CYDI?)


   Hey all! Hope you are well and rested as we gear up for this upcoming holiday season! I sure was glad to get an extra hour of sleep on Saturday night! ;)
   Today's card is for the new Favorite Animal Challenge at Can You Digi It? I'm actually a dog person, but we have a cat, too. Our cat is grey, and I decided to make this lil' cutie grey as well. This darling animal image is Puddycat. He's by Kini Art, and there will be new releases by Kini Art and Betty Edwards today! Go check it out. :)


   I, for one, am really REALLY behind on Christmas card making for this year, I mean it is BAD. Oy, I decided he could be a Christmas kitty, if I added a jingle bell to his collar. :)
   I used the Holiday Hullabaloo Digital Paper Pack, my first try at digital papers! :) Love these colors and that it came with the solid colors as well. :)
   I used some old Crate Paper chipboard, and a stamp from one of my PS sets that made the "bow" on Puddycat's neck, thought I had to shorten it a little.


   The sentiment was thought up by yours truly, and printed out from my regular old Microsoft Word program, nothing fancy! Don't forget you can always make up your own sentiment, too. :)

That is all for me today! Please come play at our new challenge and show me your favorite animal! :)

xo, Noelle

supply list: digi papers and stamp: CYDI?; chipboard pieces: Crate Paper; markers:Copic; jingle bell brads: Hobby Lobby; glitter gems: pebbles; bow stamp: Paper Smooches


3 years 3 wheels scrapbook layout (CQC162)

Hey hey! Time for another great color palette at the ColourQ! Love these rich tones, don't you?

I'd had these pics in my stash for awhile, I knew I wanted to use this stamp with them, but these colors were the perfect combo to get me finally working on this page! I decided since it was a tricycle and his 3rd birthday, that I should make the number 3 the main focus, and use the trike stamp as an accent. I cut the 3s and letters on my Cricut with the "Cuttin' Up!" cartridge. The 3s were cut a 4" and the letters at 2 1/2."
I figured 3 photos would look best with all those 3s on the page! I cropped the two outer ones and matted them in Soft Suede card stock. The center one I left at 4"x6" and matted it in the Kraft color. 
All the papers are Stampin' Up! and the stamp is a Unity one. The trikes were stamped in the Cherry Cobbler color and punched with a large circle punch. I added the glittery red discs to the 3s for a kid-like element of fun, like the nose on a clown. 
And that's all for me right now. Be back in just a little bit with another project for CYDI? :) See you soon!

xo, Noelle